Solar Structure Design: How to Calculate Wind Loads on PV Systems
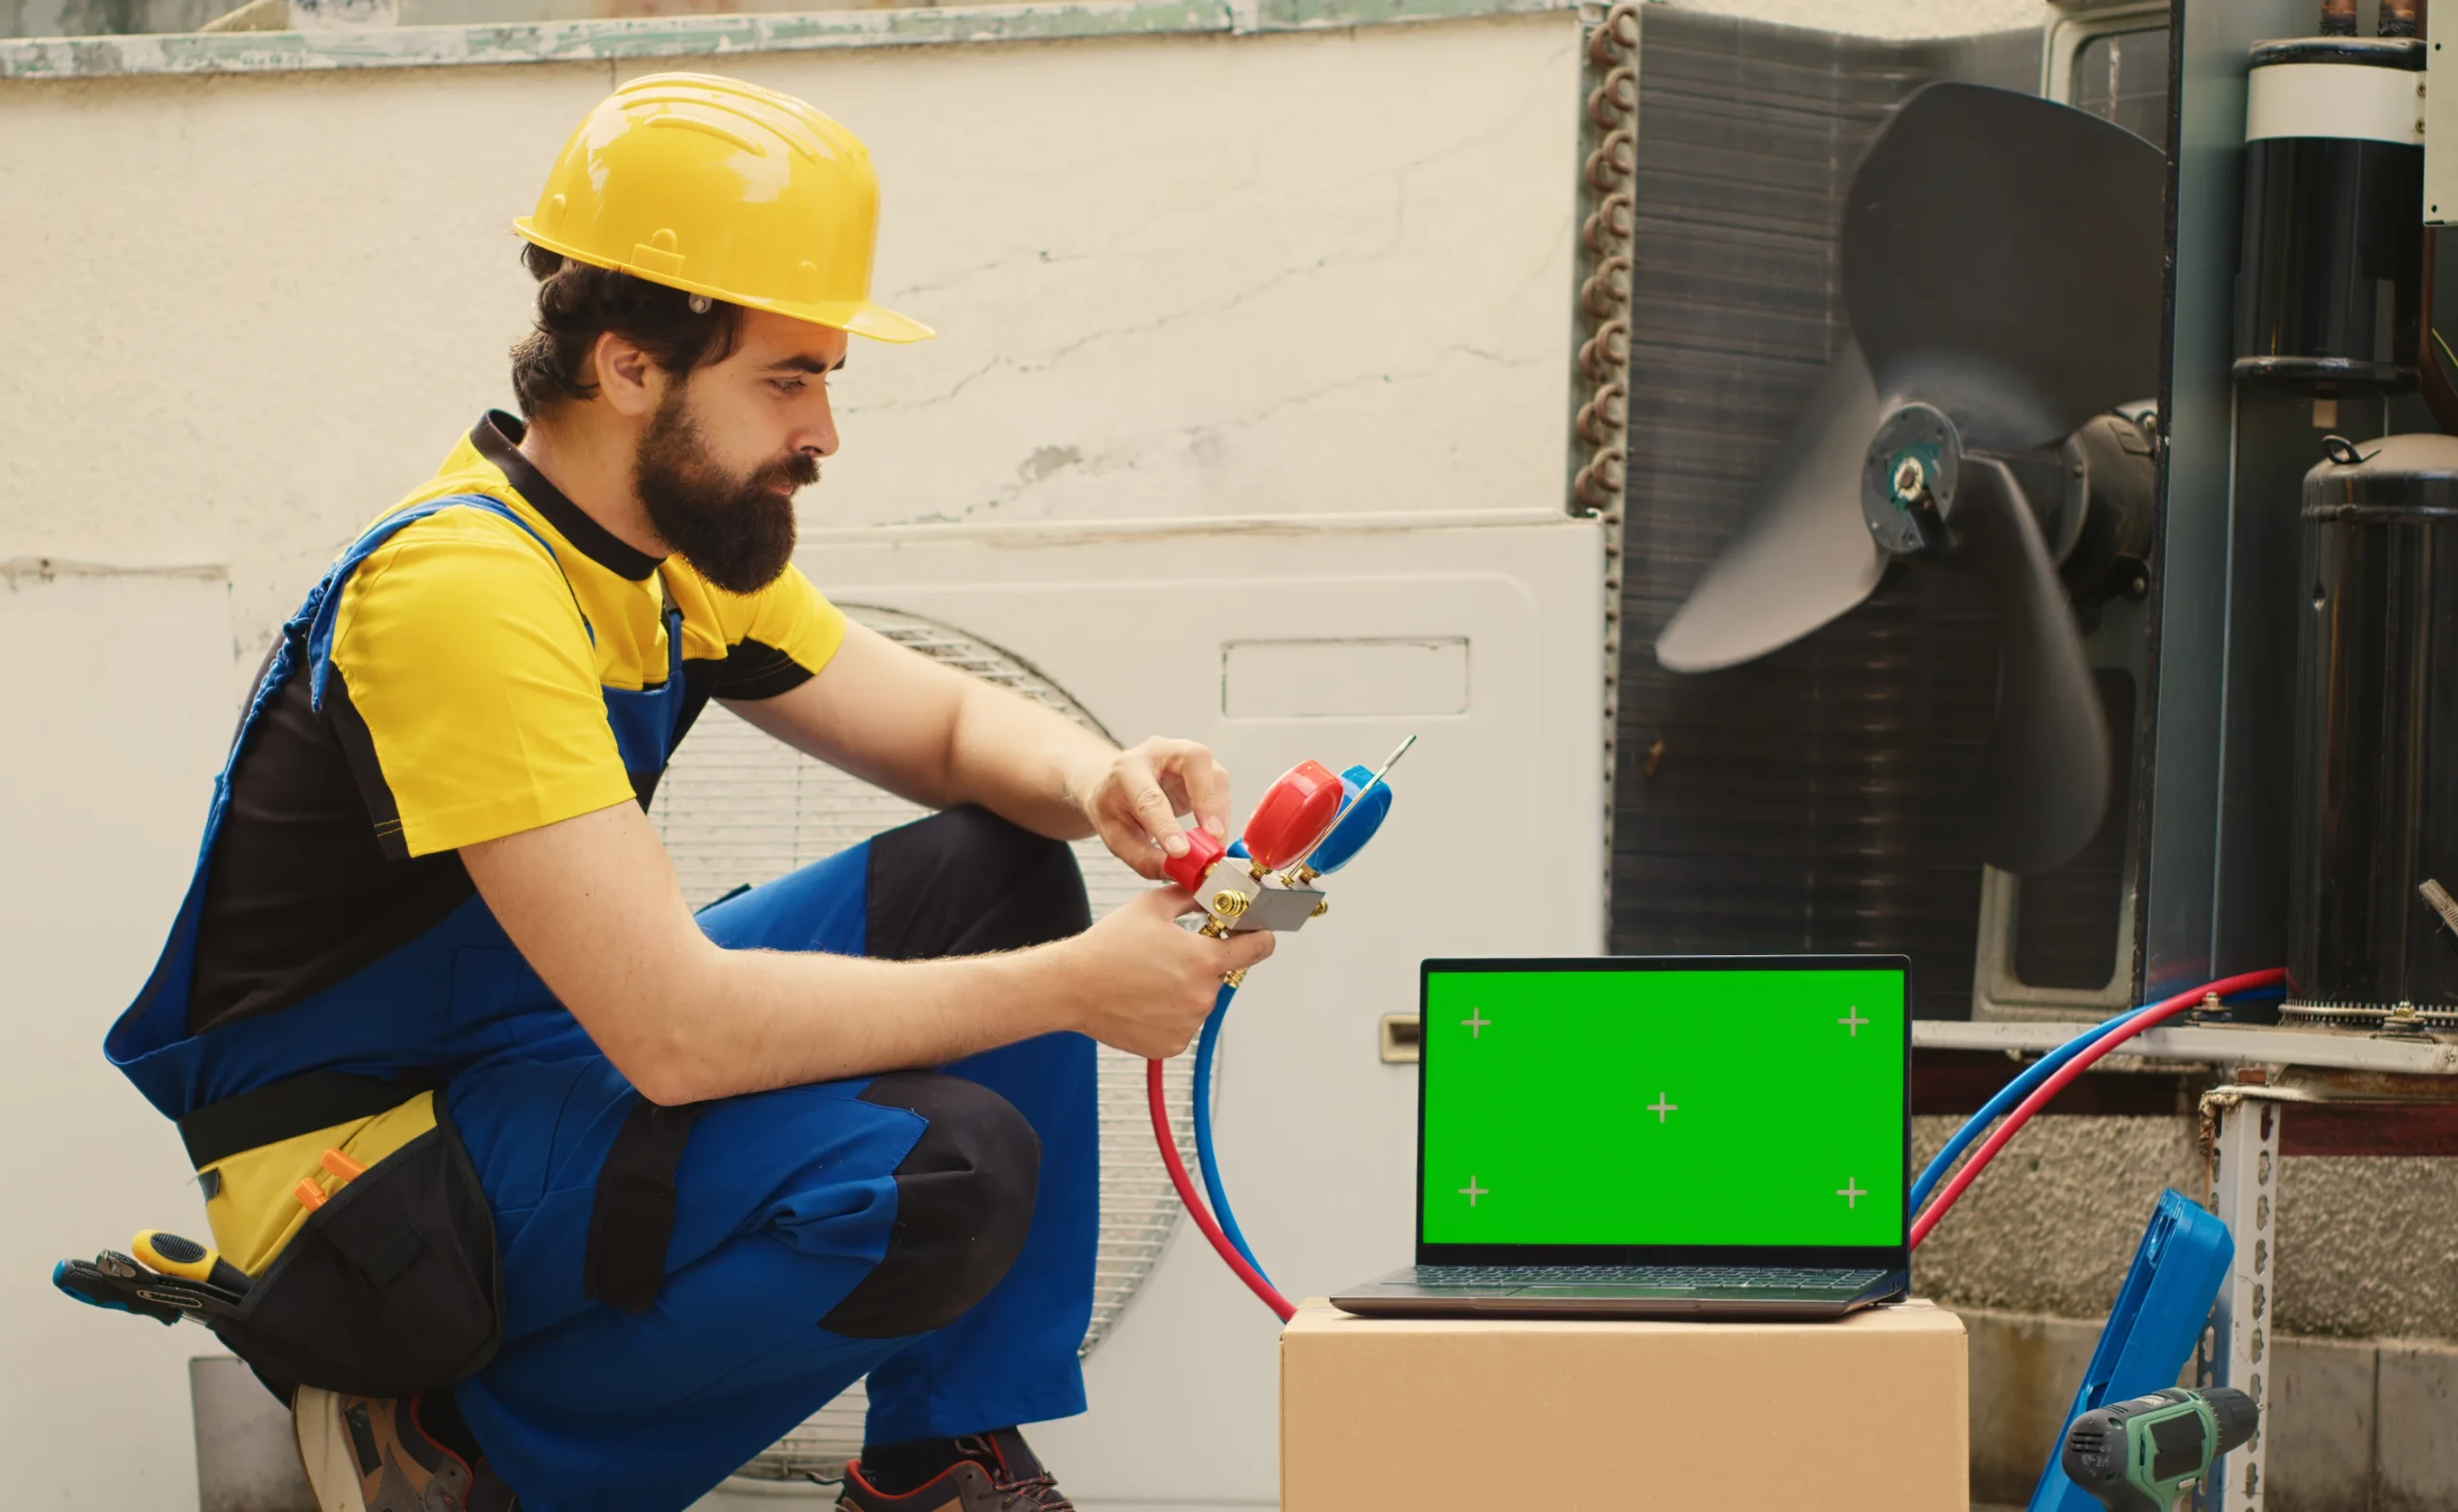
Solar wind-load design must follow the force from the module surface through clamps, rails, brackets and supports into the ground or host building. Module strength alone does not establish system capacity. The calculation depends on site conditions, array geometry and the applicability of the adopted wind-loading method, including whether the structure is rooftop, ground-mounted or a tracking system.
Define the site and array configuration
Record location, design wind basis, exposure, topography, height and the required risk or consequence classification. Confirm tilt, row spacing, module gaps, edge positions and supporting geometry. Rooftop arrays also depend on building shape, roof zones and the array's relationship to parapets.
Do not transfer a pressure coefficient from a visually similar array without checking its scope. Elevated canopies, unusual layouts and flexible trackers may need specialised wind engineering or test data. A manufacturer's generic load table must be linked to the actual installation configuration.
Distinguish velocity pressure from design pressure
The simple fluid relation q = 0.5ρV² illustrates why speed matters: with all else unchanged, a 10% velocity increase produces a 21% rise in velocity pressure. Code design procedures include their own factors, definitions and pressure coefficients; the simple relation is not a complete code calculation.
Determine net pressure across the module or array using the applicable method, including wind direction and local zones. Check uplift, downward loading and lateral effects. Tracker operating and stow conditions can involve different geometry and aerodynamic behaviour.
Convert pressure into load-path demands
Apply the pressure to the appropriate tributary area and distribute it through the actual support arrangement. As an illustrative force conversion, a uniform 1.2 kPa net pressure over 2 m² produces 2.4 kN of resultant force. This is an assumed local example, not a site design pressure or an allowable module load.
Trace that resultant into clamp forces, rail bending, bolt tension and shear, bracket demand and foundation reactions. Eccentricity and prying can amplify local connection effects. Do not divide the resultant equally among supports unless the structural behaviour justifies it.
Check the complete structure and its condition
Review strength, deflection, stability, connections and foundation uplift, sliding and overturning as applicable. Ground supports need a geotechnical basis; rooftop attachments need a verified host structure and roofing interface. Ballast assumptions must address the actual restraint and friction conditions.
NREL's resilience report identifies multiple PV failure interfaces, including modules, connections, racking and foundations. Use that systems perspective when reviewing details: an adequate rail does not make an unverified clamp or foundation acceptable.
Coordinate design with installation and operation
Document module clamp zones, fastening requirements, permissible substitutions and inspection points. A changed rail spacing or missing fastener can invalidate the analysed arrangement. For trackers, confirm the control and stow assumptions with the supplier and consider the required abnormal operating cases.
Issue a site-specific load schedule, governing combinations, connection calculations and foundation demands. Fluxiss can link solar and structural engineering around the actual array layout, supplier data and site investigation so the final package supports both review and construction.
Frequently Asked Questions
No. Modules, clamps, rails, supports, connections and foundations must be assessed together for the installation.
Technical references & further reading
Practical engineering explainers connecting analysis methods, design inputs and project decisions.
Related articles.

Let's Build Something Great Together.
Partner with Fluxiss for engineering that holds up - under pressure, under load, under scrutiny.